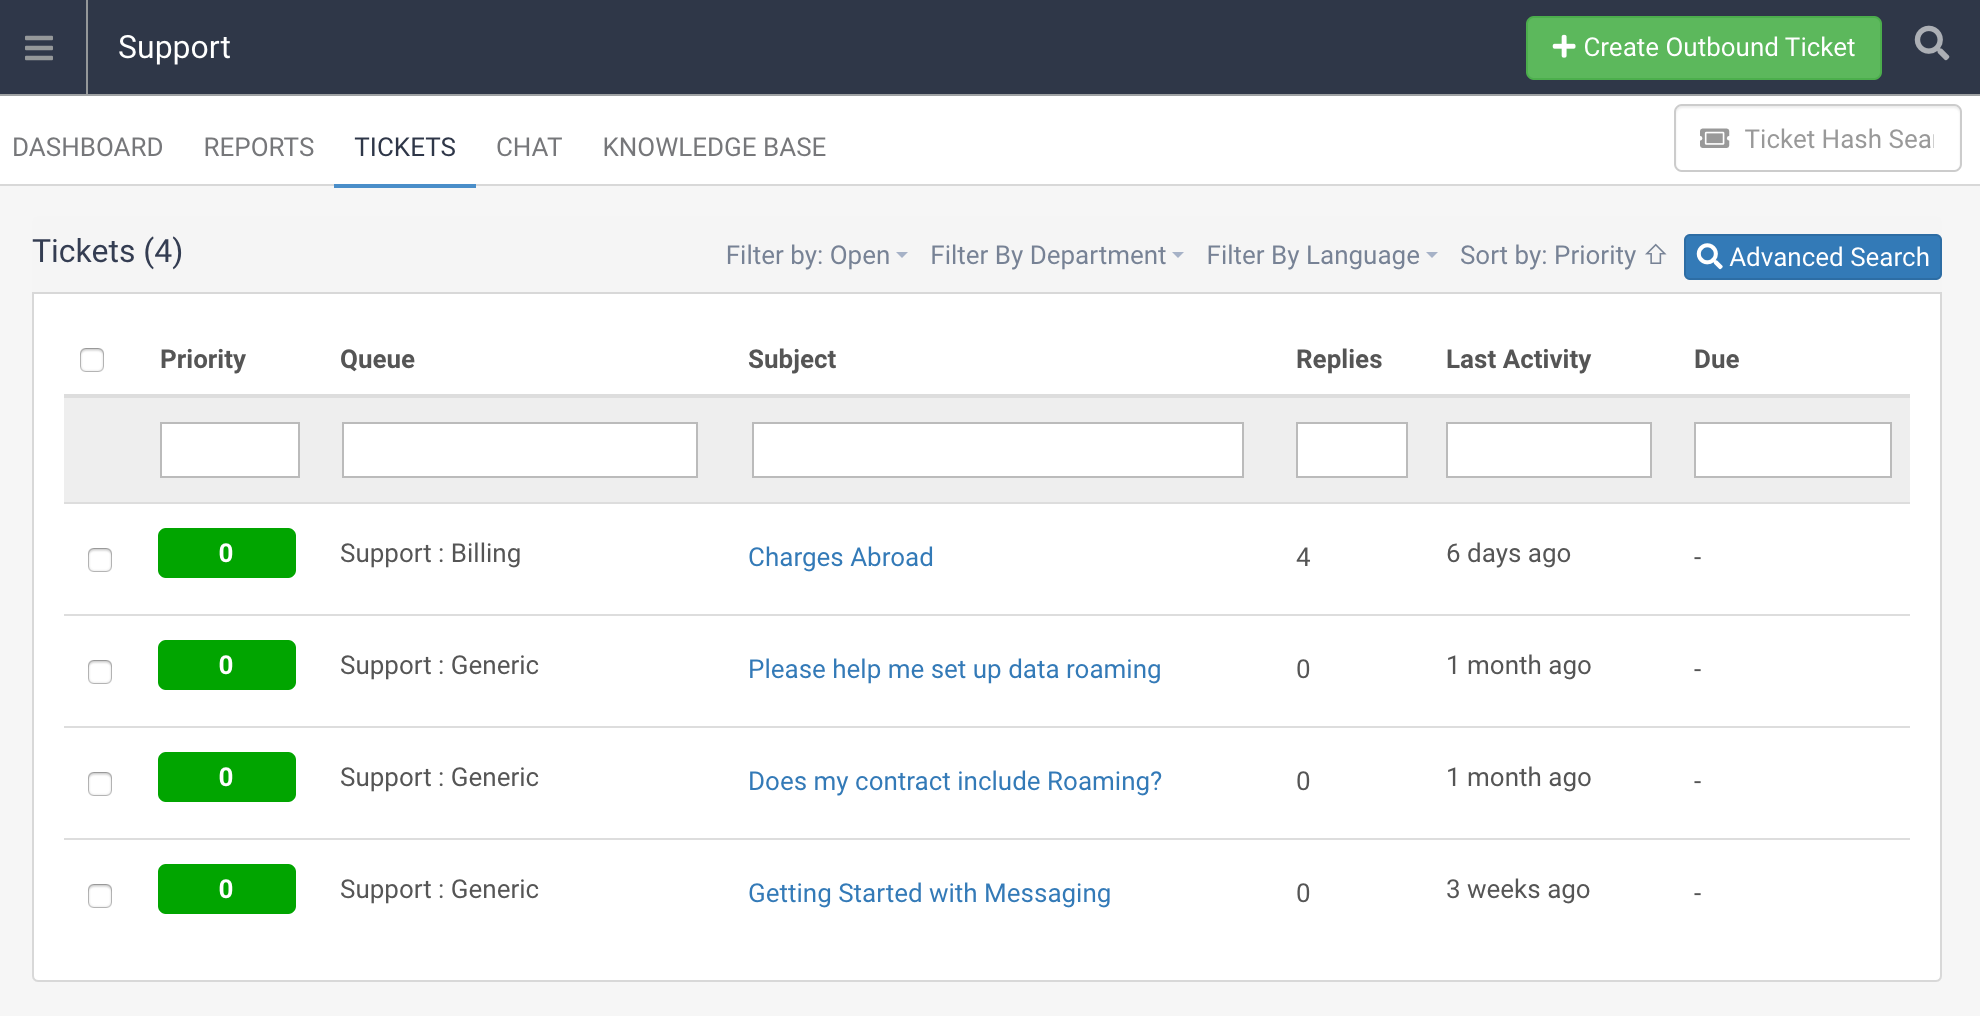
In order to reply to a Support Ticket, first open the Support Ticket from the Tickets tab in the Support App:
Once in the ticket you can read through the timeline of previous ticket posts as you scroll down until you get to the Reply section:

If you have a Ticket Post Template setup then this will alredy be populated in the reply field, if not then the reply field will be blank and waiting for your reply to be entered.
Either way click into the reply field and start typing your reply to the support ticket. You can use the Quick Replacements to enter dynamic information about this Ticket, Customer, Agent or Brand which will input the Quick Replacement tags which will automatically complete when the Reply is sent:

You can also make use of Canned Responses in this reply field by selecting them from the list available. These will input at the location of the cursor in the reply field:

You can also attach files by dragging and dropping them into the Attachment field or by clicking there and selecting the file:

Optionally you can set a Follow Up Period for this ticket as well.
Once you have filled in the reply and added any attachments or follow up periods click on Send (if visible) or Send and Close to send the reply to the customer.