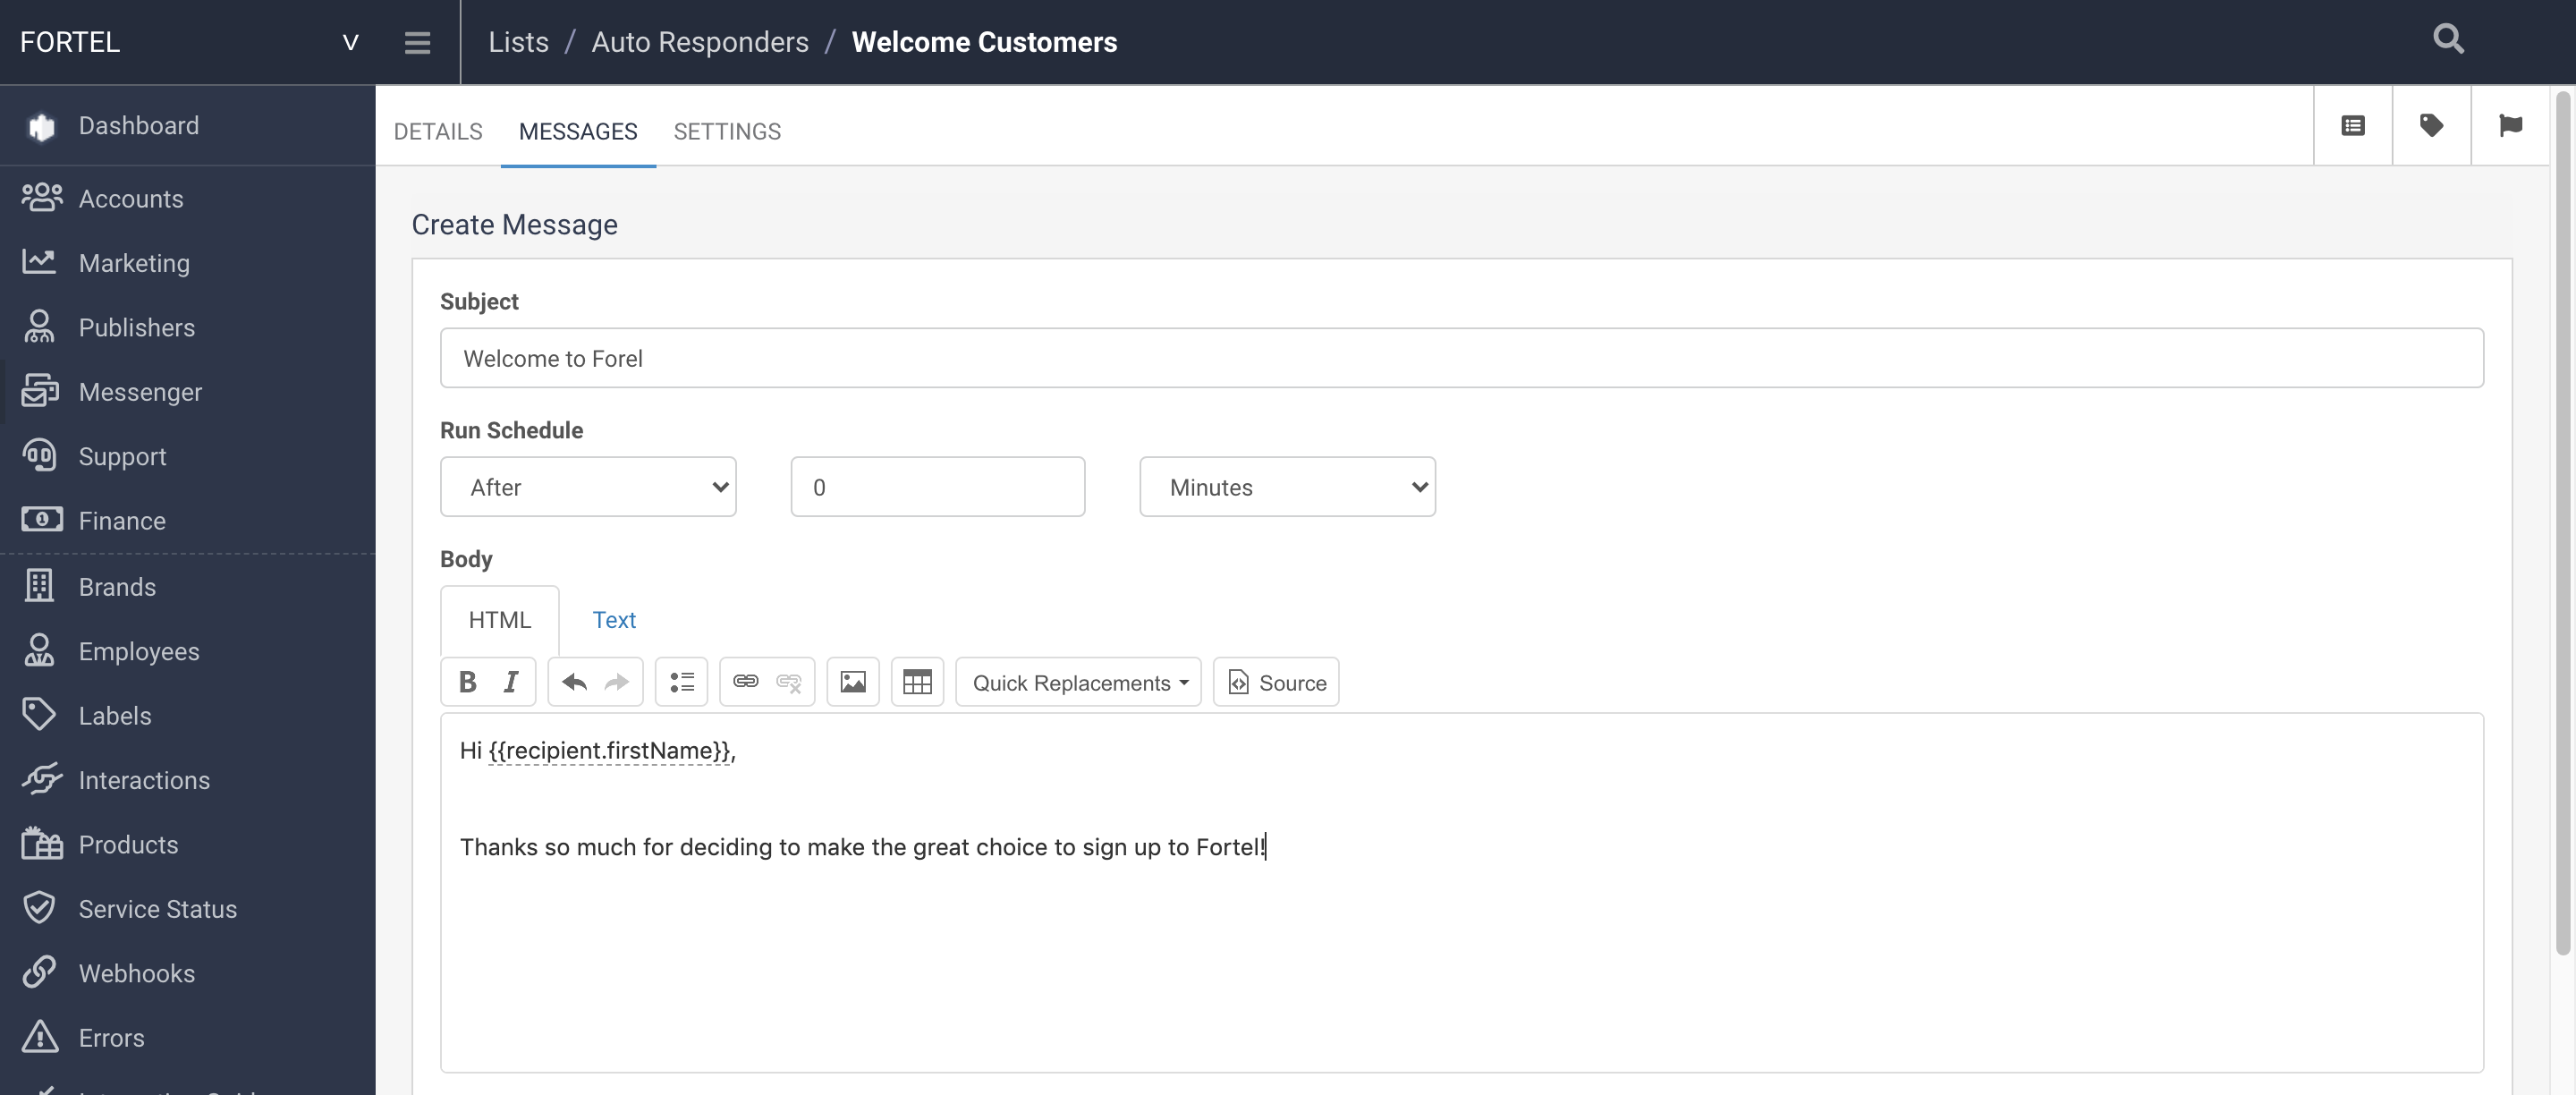
Within an Auto Responder or Mailshot Campaign, Click on Create WhatsApp to add a new WhatsApp Message and enter the Subject and some content. This is an option to quickly enter the bulk of the content for the message, however you can still edit it once it has been created.

For Autoresponder messages you can also define the Run Schedule of the Message. If this is left at 0 Minutes it means this will trigger as the event occurs. However you can update this to any number of minutes, hours, days or weeks after the event triggers.
Once you click on Create Message you will be on the Message Details page.
This will list out all of the Filters inherited from the List and from the Auto Responder / Mailshot Campaign level, as well as statistics that will be populated when the message is sent.
The Reports tab will also populate when this Message is sent.
The Compose tab allows you to edit the content of the Message:
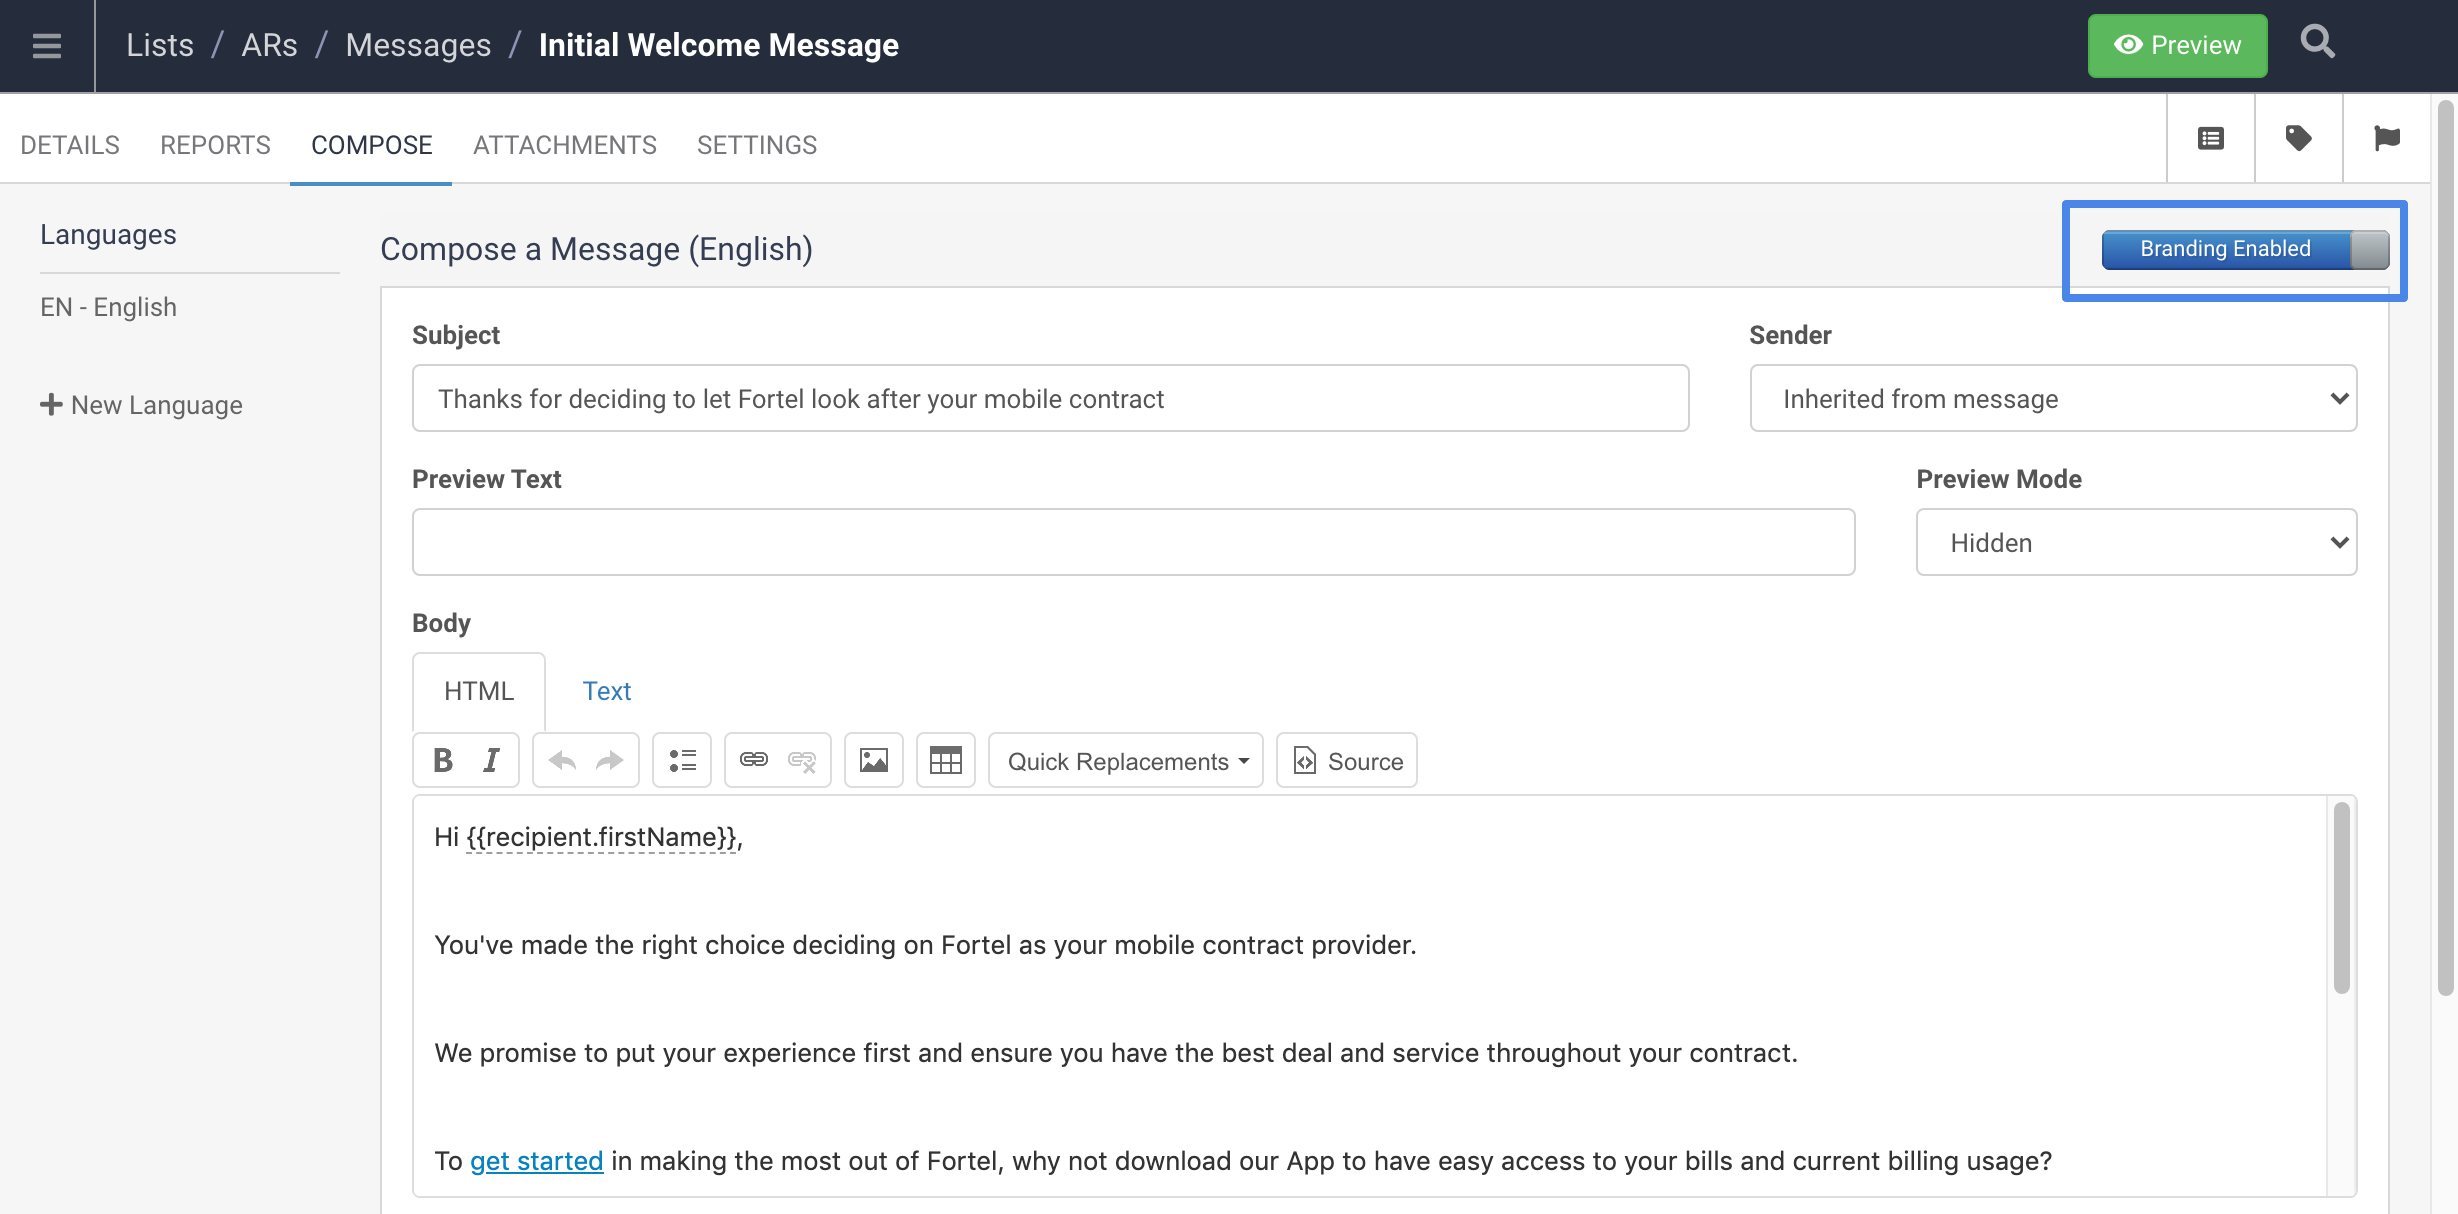
You can also change the Sender for this Message Template here. This is typically used to allow different senders for Different Language Templates.
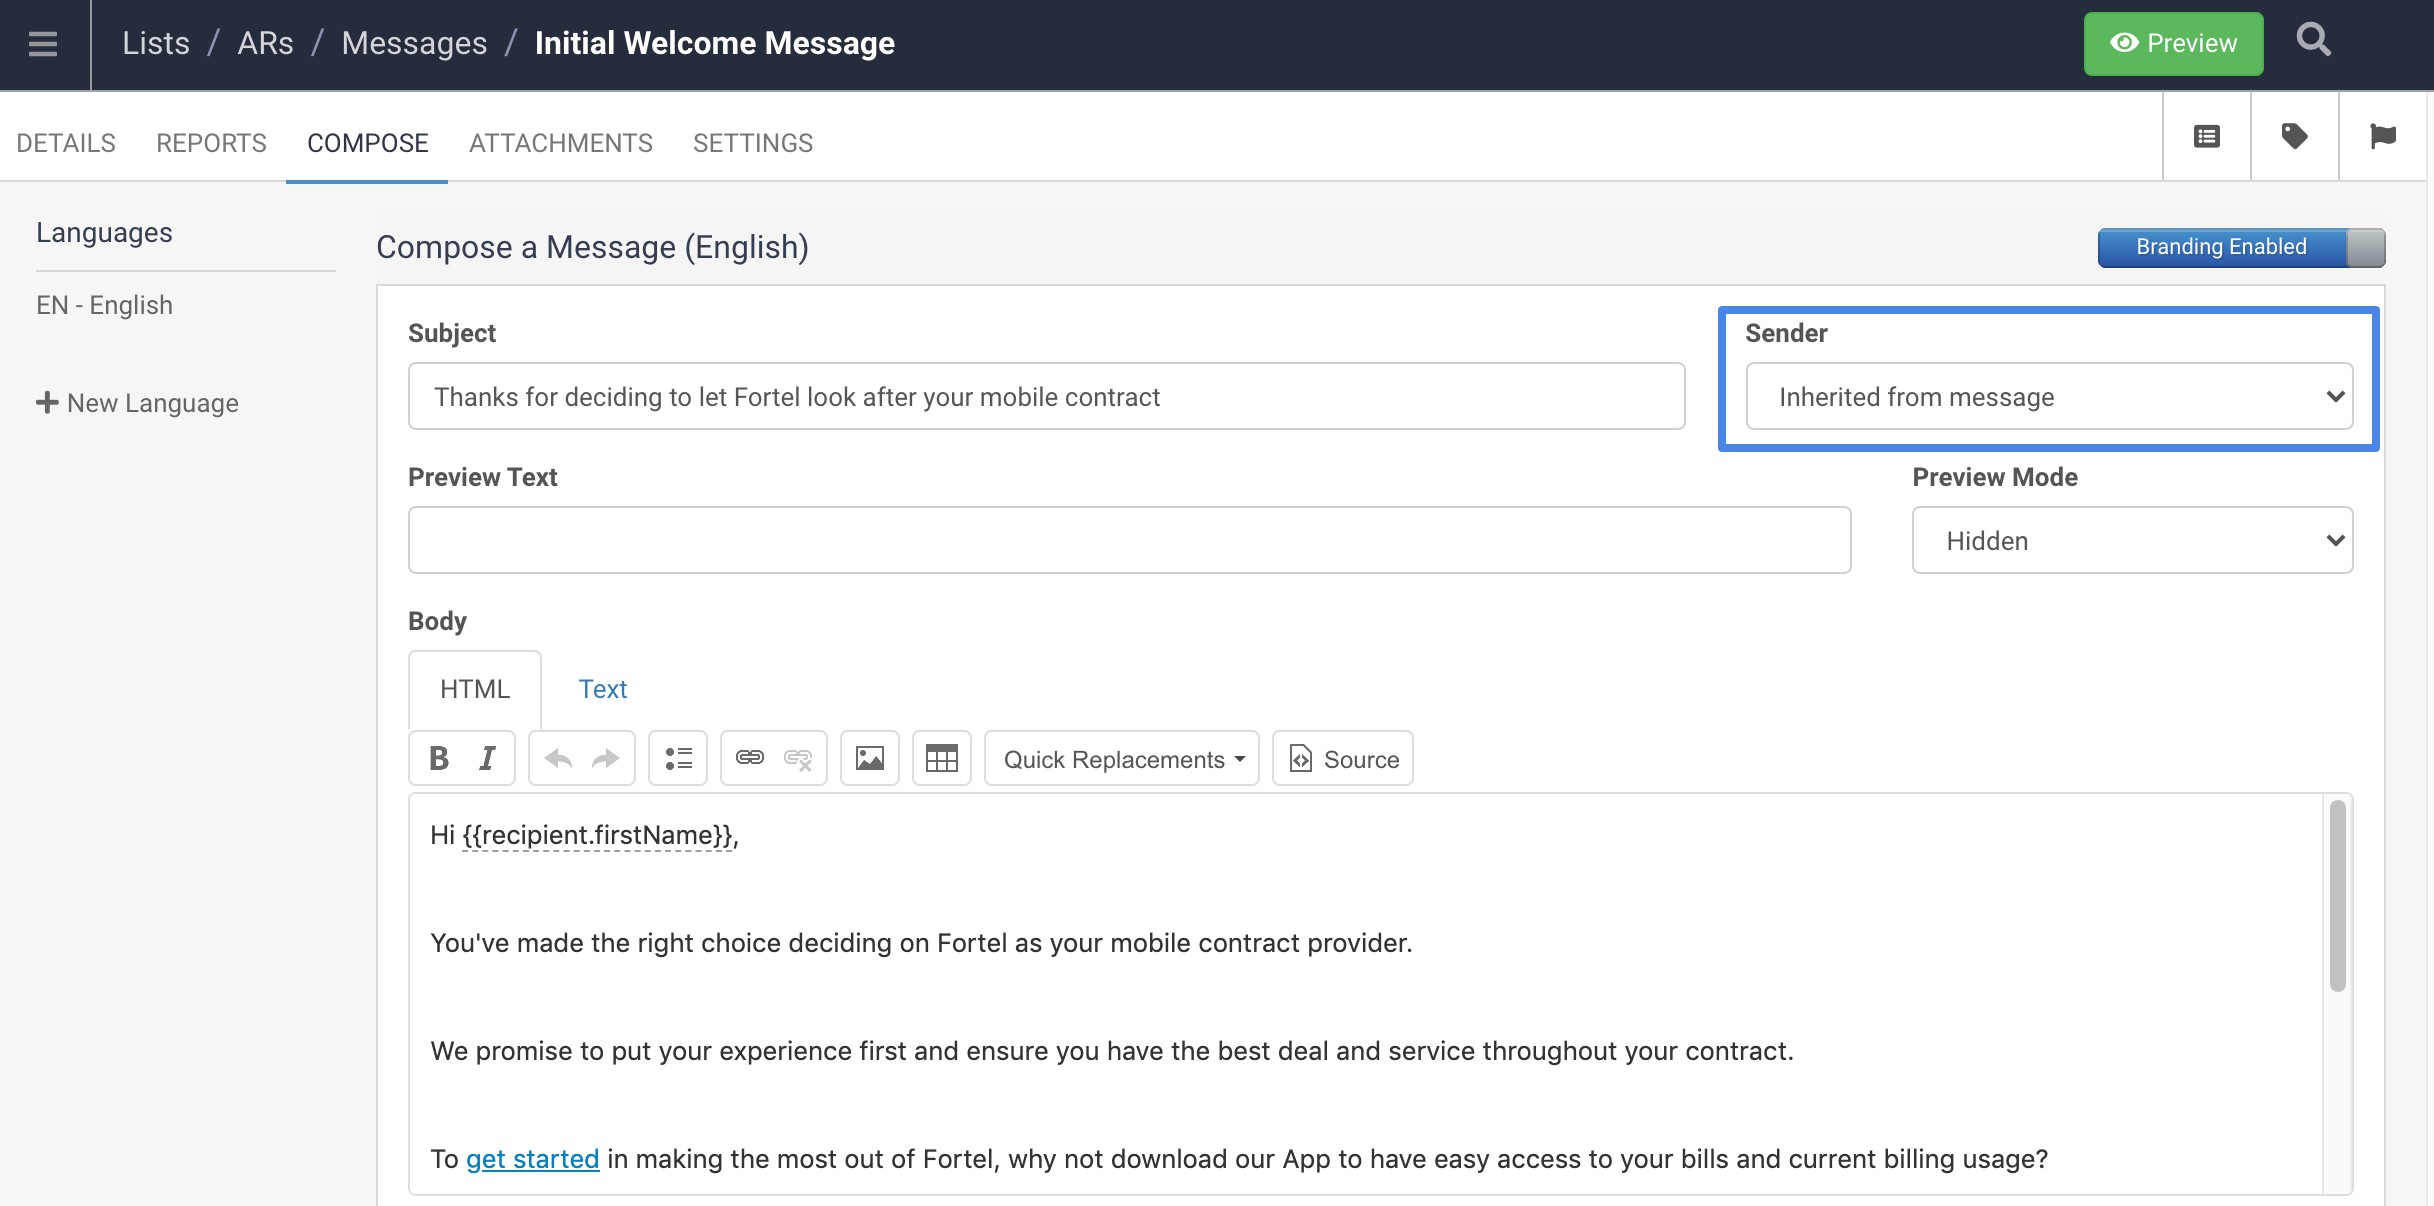
You can also create new Language Templates and edit the Subject and content of this Message.
Finally in the Settings tab you can define many of the same settings as the list and campaign, overiding the settings inherited from the Campaign level such as Sender Account (which can define the Sender number) and Whatsapp Service.
You can also enter further filters to segment your recipient list even further should you wish to.
For Auto Responder messages you can also edit the Run Schedule in the Settings tab, for instance if you set this up to go out On Event, but actually would like it to send 10 minutes after the Event you can edit this in Settings.
For Mailshot messages you can set a send schedule to determine the exact date and time that this message should send.
Once all the Settings have been defined and the message content has been edited this Message can be set to Active.
On the Details tab there is a Message Status toggle which is currently set to Inactive:

Switching this to Active will make this Message active and it will send when the Event is triggered for AutoResponders or when the Mailshot is sent or scheduled.
Also for Mailshot Whatsapp Messages switching this to Active will add an extra green Send button in the top right next to the Clone and Test buttons: